Curing a pizza oven: 5-day step-by-step guide for owners
Curing a pizza oven: 5-day step-by-step guide for owners
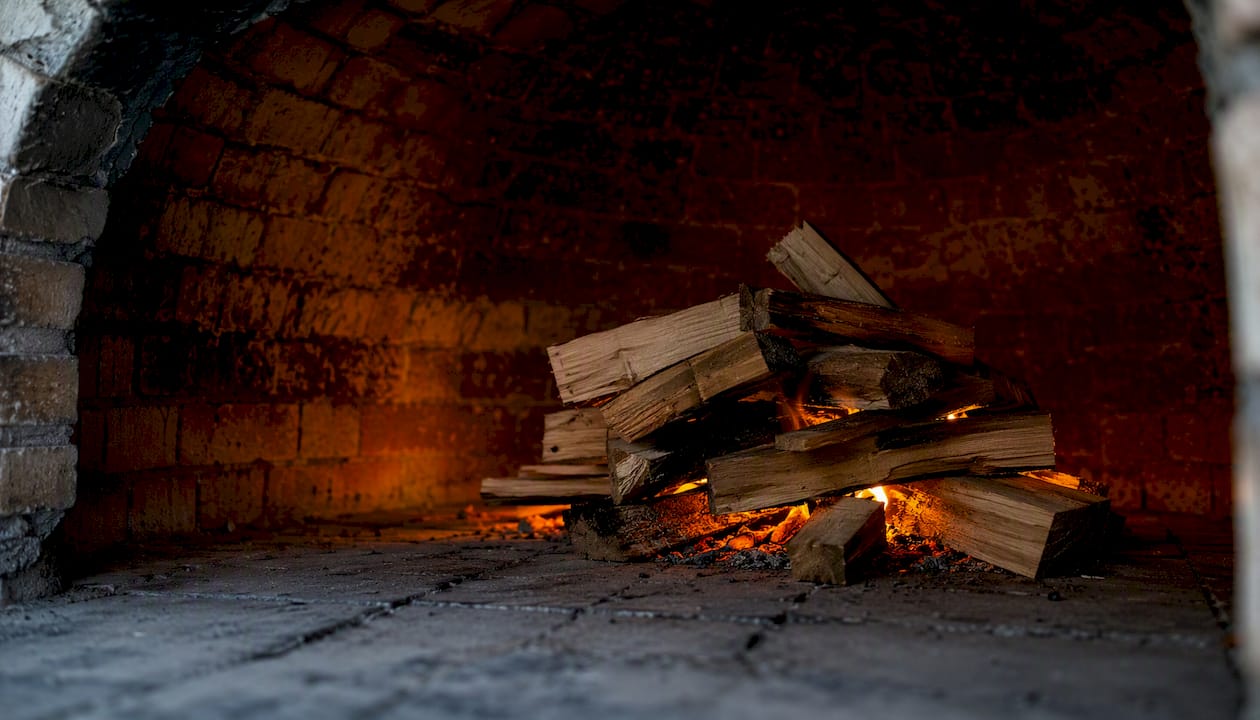
Before you light your first real fire, you need to cure the oven properly. The correct method is a staged, multi-day heat ramp: small fires held at low temperatures on day one, rising gradually each day until the oven reaches cooking range by day five. Skip this process, or rush it, and you risk steam-driven cracking, weakened mortar joints, and a hearth that never performs as it should.
The single most important rule: never push a new oven to full operating temperature prematurely. Moisture trapped in firebrick, refractory mortar, and insulation must be driven out slowly. A conservative multi-day cure over several days, as recommended by both manufacturers and the wider community of wood-fired oven builders, is the safest and most effective approach.
Before you begin, gather these essentials:
- An infrared thermometer or thermocouple probe (to monitor floor and dome separately)
- Kiln-dried hardwood: oak, ash, or beech in small splits
- Natural wax firelighters (no lighter fluid)
- Heat-resistant gloves and safety glasses
- A hearth brush for ash removal between sessions
- Five consecutive days with dry weather forecast
Key takeaways
A slow, staged five-day cure using kiln-dried hardwood and a rising temperature schedule is the safest and most effective way to prepare a wood-fired pizza oven for long-term use.
| Point | Details |
|---|---|
| Follow a five-day ramp | Progress from 50–80°C on day one to 350–450°C on day five, holding each temperature for several hours. |
| Use kiln-dried hardwood only | Oak, ash, or beech in small splits; never softwood, treated wood, or accelerants during the cure. |
| Monitor floor and dome separately | The hearth floor typically heats more slowly than the dome; only advance when temperature readings are stable and reasonably close. |
| Hairline cracks are normal | Fine cracks under 2 mm are cosmetic; cracks wider than 3–4 mm or that grow between sessions need professional assessment. |
| Follow manufacturer guidance first | Where your oven builder or refractory mortar supplier provides a specific schedule, it takes precedence over this default routine. |
Table of Contents
- Why does curing a pizza oven matter so much?
- When should you start, and how do you prepare the site?
- The five-day curing schedule: temperatures, durations and fire sizes
- How to build and manage the curing fire
- Safety checklist and what to do if problems arise
- Which hearth materials work best, and how do they affect curing?
- How to test the oven and plan your first cooks
- When should you involve a professional?
- Sources
Why does curing a pizza oven matter so much?
Every new wood-fired oven, whether a handcrafted Neapolitan build or a kit installation, contains residual moisture. It sits in the firebrick, in the refractory mortar between joints, and in the insulating layers beneath the dome. When heat is applied too quickly, that moisture turns to steam faster than it can escape. The pressure builds, and the result is cracking, spalling, or weakened joints that compromise the oven’s structural integrity from the very first session.
Gradual moisture removal from firebrick and mortar is the core reason curing exists. Rushing the first fires risks hairline cracks, weakened joints, and poorer heat retention over the oven’s lifetime. A slow cure does the opposite: it tempers the masonry, improving its ability to absorb, store, and release heat evenly. That thermal stability is what gives a properly cured oven its characteristic cooking performance, the consistent floor temperature and radiant dome heat that define authentic Neapolitan pizza.
You will notice visible signs as the cure progresses. Early sessions often produce condensation on the dome exterior and a dark, sooty interior. As moisture leaves the masonry, the soot gradually burns off and the dome lightens in colour. That colour change is a reliable indicator that the drying process is working. If the dome stays dark and wet-looking after several sessions, extend the lower-temperature days before moving on.
When should you start, and how do you prepare the site?
Timing matters. Begin curing only after the refractory mortar has fully set and any exterior render or stucco is dry to the touch. If you are unsure, wait at least 7–10 days after the final render coat, or follow the mortar manufacturer’s stated set time precisely. Starting too early, while the mortar is still chemically active, can cause the cure to work against the setting process rather than with it.
Site preparation is straightforward but non-negotiable. Check that the chimney draws freely by holding a lit match near the flue opening: the flame should pull upward cleanly. Clear any combustible materials from around the oven, confirm the door and flue damper operate without obstruction, and make sure the area is well ventilated. If the oven is installed indoors or under a canopy, verify that the extraction system is functioning before you light anything.
Tools and materials checklist:
- Infrared thermometer (aimed at both floor and dome) or a thermocouple probe
- Kiln-dried hardwood splits: oak, ash, or beech preferred
- Natural wax firelighters only — no accelerants
- Hearth brush and metal ash scoop
- Heat-resistant gloves and safety glasses
- A simple log or notebook to record daily temperatures and observations
One important note: if your oven came with a manufacturer’s curing schedule, follow it and consider luxury villa catering mistakes: how to avoid them to ensure smooth operational practices in high-end contexts. The staged routine below is a conservative default that works well for most brick and refractory builds, but a specific oven builder’s guidance, particularly for bespoke or commercial installations, takes precedence where it differs.
The five-day curing schedule: temperatures, durations and fire sizes
A staged, multi-day cure that slowly raises internal temperatures and holds them for several hours each session is the established best practice. The goal each day is controlled heat for a sustained period, not a fast climb. Think of it as conditioning the masonry rather than cooking with it.
-
Day one: a low temperature held for a couple of hours. Build a very small fire using just a handful of kindling and one or two small splits. Place it centrally on the hearth. Leave the door off and the flue fully open. The aim is a gentle drying heat, not visible flame for long periods. Let the fire die down naturally and allow the oven to cool overnight with the door open.
-
Day two: increase temperature moderately with a similar duration. Add slightly more fuel: a few small splits alongside the kindling. You may notice condensation on the dome exterior or around the chimney base — this is normal and confirms moisture is leaving the structure. Keep the flue open throughout.
-
Day three: raise temperature further and hold for several hours. Build a moderate fire using small-to-medium splits. At this stage the dome interior should begin to lighten as soot burns off. If it remains heavily darkened and wet-looking, hold at this temperature for an additional session before progressing.
-
Day four: continue raising temperature and hold gently. Use medium splits and allow the fire to build more steadily. You can begin to partially cover the mouth with the door (leaving a gap for airflow) once the fire is established. Monitor the floor temperature separately from the dome: the floor often lags behind and needs time to catch up.
-
Day five: approach cooking range temperatures for a few hours. This is the final conditioning session, bringing the oven close to cooking range. Build a proper fire with medium logs, allow it to reach temperature, and hold it there. By the end of this session, the dome should be largely clear of soot and the oven should feel thermally stable. Community experience consistently shows that owners who follow a slow, consecutive cure report better long-term results than those who attempt a single-day or intermittent approach.
Pro Tip: Monitor the floor and dome temperatures separately. The floor, particularly a thick refractory hearth, can be 50–80°C cooler than the dome during early sessions. Never advance to the next day’s target until both readings are within a reasonable range of each other and stable.
If at any point the temperature climbs faster than expected, reduce the fuel load rather than opening the door wide. A sudden rush of cold air into a hot oven creates thermal shock, which is exactly what the cure is designed to prevent.
How to build and manage the curing fire
Fuel choice is not a minor detail. Use only kiln-dried hardwoods: oak, ash, and beech are the most reliable choices in the United States. Olive wood works well where available. Avoid softwoods entirely during the cure; they burn too fast, produce excess resin, and generate soot that can penetrate fresh mortar joints. Never use treated or painted wood, manufactured fire logs, or any fuel containing accelerants.
For the first two days, start with a small teepee of kindling over a natural wax firelighter, placed at the centre of the hearth. Keep the fire modest. The temptation to build it up is real, especially when the oven looks capable of handling more, but the masonry needs time to absorb heat evenly rather than experiencing a concentrated hot spot.
As the days progress and temperature targets rise, you can move to slightly larger splits and allow the fire to burn more freely. On days four and five, push the fire toward the back or side of the dome once it is established, which encourages the characteristic rolling flame that distributes heat across the dome’s interior surface. At this stage, partially covering the mouth with the door (leaving a 5–8 cm gap at the base for combustion air) helps retain heat and improves the oven’s ability to soak temperature evenly.
What to avoid during the cure:
- Lighter fluid or any liquid accelerant
- Green or freshly cut wood (moisture content too high)
- Large, sealed fires on days one or two
- Closing the door completely before day four
- Leaving the fire unattended at any stage
The wood-fired oven community consistently reinforces one principle above all others: patience. Multiple sessions at lower temperatures will always produce better results than a single aggressive fire.
Safety checklist and what to do if problems arise
Before each session:
- Wear heat-resistant gloves and safety glasses when handling fuel and managing the fire
- Keep a bucket of water and a dry-powder fire extinguisher within reach
- Confirm the flue is drawing before lighting
- Clear the area of combustible materials and keep children and pets away
- Never leave a curing fire unattended
Cracking is the most common concern during a cure, and the distinction between cosmetic and structural matters enormously. Hairline cracks, fine lines less than 1–2 mm wide that appear on the dome interior or around the mouth, are normal. They result from the thermal expansion of masonry and do not affect performance or safety. You can monitor them with a pencil mark at each end; if they do not grow between sessions, they are cosmetic.
When to stop and seek professional advice: if you see a crack wider than 3–4 mm, a crack that runs continuously from the dome to the base, mortar separating visibly from the brick face, or any section of the dome that sounds hollow when tapped, pause the cure immediately. These are signs of a structural issue that needs assessment before the oven is used further.
If the oven overheats during a session, reduce the fuel load immediately and allow the temperature to drop naturally. Do not pour water into the oven or open the door suddenly. A slow, controlled cool-down is far safer than a rapid temperature drop. If a steam pop occurs (a sharp crack accompanied by a small fragment of material), stop the fire, ventilate the oven, and allow it to cool completely before inspecting the interior.
Persistent chimney draw problems, excessive smoke that does not clear after the first few minutes of a fire, or a flue that backs up into the cooking chamber are signs that the installation needs professional attention before the cure continues. Commercial oven maintenance guidance reinforces this: verify sensing and control elements, including thermometers and door seals, before commissioning any oven into regular service.
Which hearth materials work best, and how do they affect curing?
The floor of your oven does more work than any other surface. It must absorb and store heat, transfer it evenly to the base of the pizza, and withstand repeated thermal cycling without cracking or lifting. Material choice directly affects how the cure behaves and how long the floor takes to reach thermal equilibrium each session.
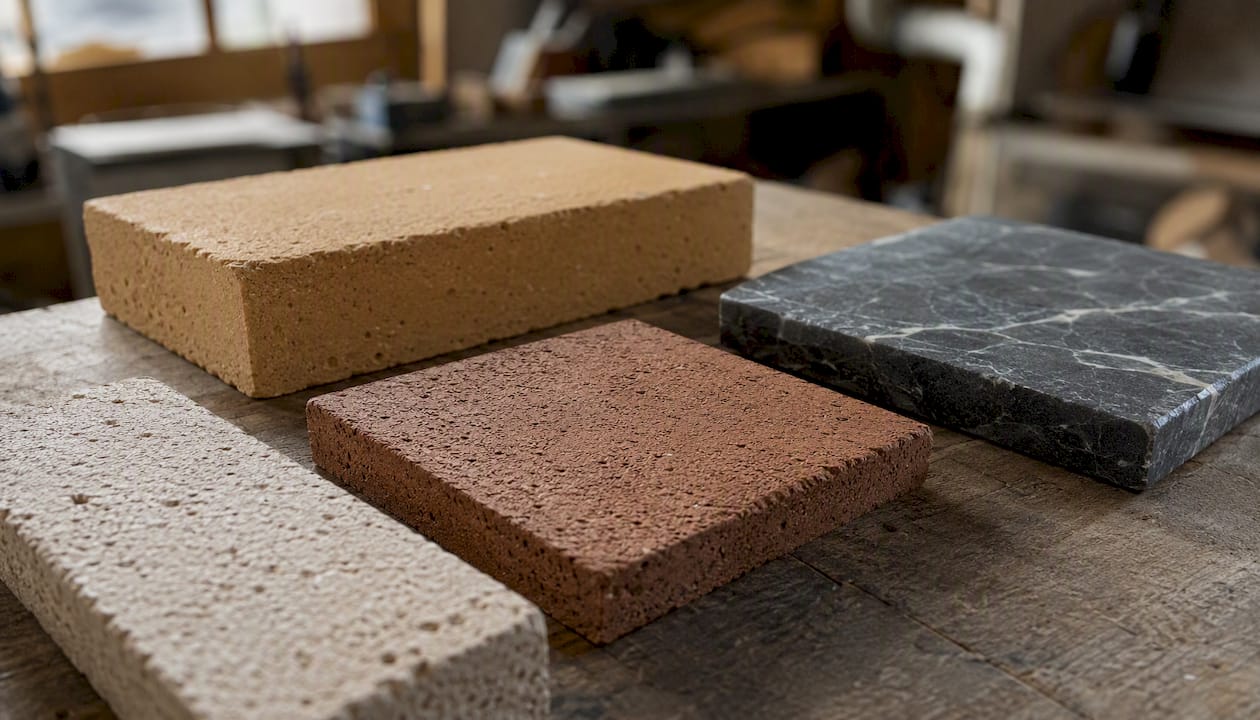
Refractory clay tiles, quarry tiles, and soapstone are the most commonly recommended options for wood-fired oven hearths, each with distinct properties that influence both the cure and long-term cooking performance.
| Material | Thermal mass | Porosity | Typical use case |
|---|---|---|---|
| Refractory firebrick | High | Low to medium | Dome and hearth in traditional builds |
| Refractory clay tiles | High | Medium | Hearth replacement and new installations |
| Quarry tiles (unglazed) | Medium | Medium to high | Hearth in lower-temperature or domestic builds |
| Soapstone | Medium to high | Very low | Hearth inserts, specialist builds |
High-porosity materials like quarry tiles absorb more moisture during construction and therefore require more patient early-day curing. Refractory firebrick and clay tiles are denser and more forgiving, but they still need the full staged cure to temper properly.
Always use refractory mortar or the mix specified by your oven builder for joints exposed to direct fire. Ordinary Portland cement cannot withstand the thermal cycling of a wood-fired oven and will fail. Installation details matter too: a level subfloor with no hollow spots beneath the tiles prevents uneven heat distribution and reduces the risk of tiles lifting under thermal stress. Keep grout gaps consistent (typically 3–5 mm) to allow for thermal movement.
If you have rebricked or replaced the hearth, allow the new mortar to cure fully per the manufacturer’s instructions before starting any fires. Then follow the same conservative low-heat ramp described above, treating the rebuilt floor as a new installation regardless of the dome’s age.
How to test the oven and plan your first cooks
After the fifth curing session, give the oven a full day to cool before the post-cure inspection. Open the door, sweep out the ash with the hearth brush, and examine the dome interior and all visible joints carefully. The dome should be largely clear of soot, the joints should look solid, and there should be no new cracks beyond the hairline marks you noted during the cure.
Post-cure checklist:
- Visually inspect dome, mouth, and all accessible joints for new or widened cracks
- Check chimney draw with a lit match or small piece of paper near the flue
- Sweep the hearth clean and check for any loose or lifted tiles
- Confirm the door fits correctly and the flue damper operates freely
For the first cook, resist the temptation to go straight to a full pizza service. Start with a low-temperature bake: bread or a slow roast at around 200–250°C works well and continues the gentle conditioning of the hearth. A first bread bake in a wood-fired oven is one of the most reliable ways to test floor temperature consistency and dome heat distribution without stressing the structure.
After one or two low-heat sessions, run a short high-heat pizza session to burn off any residual carbon from the floor before food contact. For commercial operations, avoid continuous full-service loads for the first week if possible. The oven benefits from a gradual increase in thermal demand, and the masonry continues to strengthen with each firing cycle during this early period. Understanding how to use a wood-fired oven in its early weeks will help you get the best from the structure you have worked to prepare.
When should you involve a professional?
For most domestic and small commercial builds, a careful owner can complete the curing process without specialist help. But there are clear situations where professional involvement is not just advisable, it is necessary.
Commercial installations operating on tight opening schedules often cannot afford the luxury of a self-managed five-day cure. A bespoke built-in oven, a complex chimney or extraction system, or an oven installed in a listed or regulated building all carry considerations that go beyond the standard curing routine. Industrial and commercial curing practice reinforces the same principle that applies to masonry ovens: controlled ramp, dwell, and cool phases must be managed with precision to produce repeatable, uniform results under load.
Vesuviano Forni’s commercial wood-fired pizza ovens are supplied with manufacturer curing guidance and full installation support. For commercial buyers, the handover procedure includes commissioning checks: ventilation verification, probe and thermostat calibration, and a supervised first firing to confirm the oven performs to specification before service begins. The VesuvioBuono® low-emission system, available across the VesuvioBuono range, adds an additional consideration during commissioning: the soot-reduction components require their own verification check as part of the handover.
If your oven is a Vesuviano Forni build, or if you are planning a new professional installation, contact the team directly. The combination of over 50 years of Neapolitan craftsmanship and a dedicated R&D team means that technical support is available at every stage, from the first cure to ongoing pizza oven maintenance and after-sales care.
Practical tips from installers and oven technicians
The most consistent advice from experienced installers is this: always favour longer holds at a given temperature over pushing to a higher one ahead of schedule. An extra hour at 150°C does far less damage than a premature jump to 250°C. If in doubt, repeat a day rather than advance.
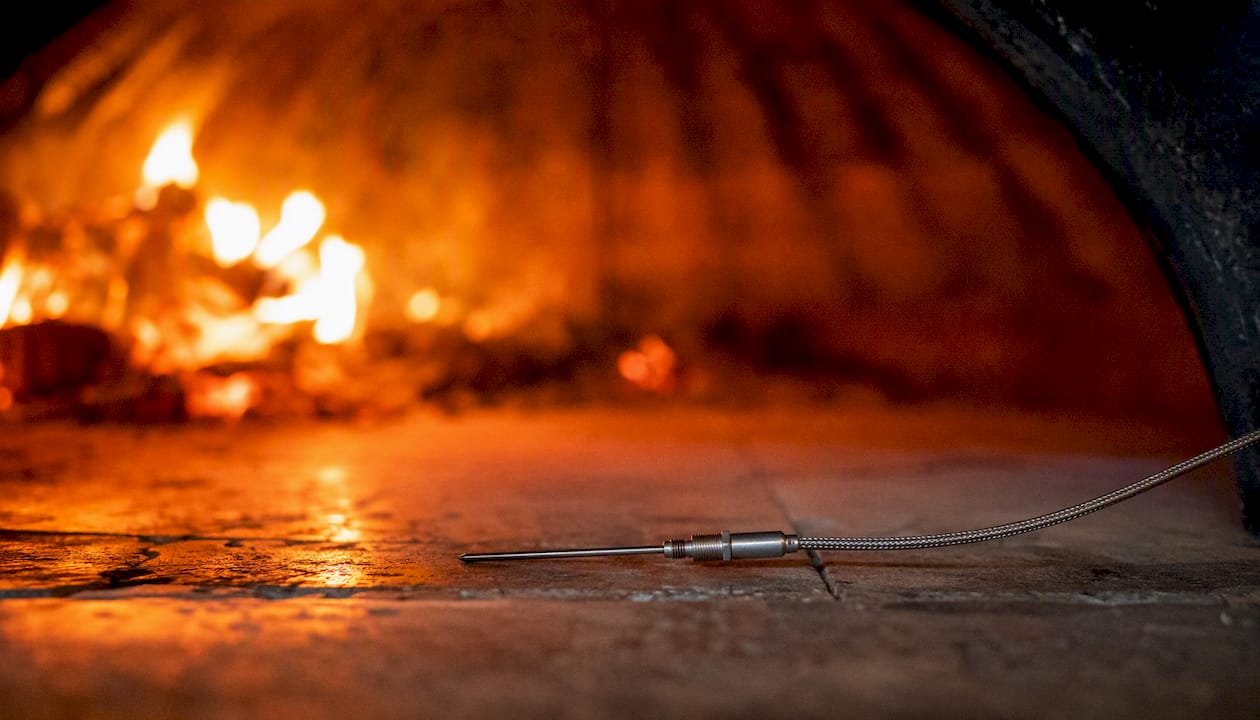
Monitor the floor and dome separately throughout the cure. The dome typically heats faster, and it is easy to assume the oven is ready when the dome reads well but the floor is still cold and damp. A thermocouple probe placed directly on the hearth surface gives you the most accurate floor reading, particularly in the early sessions when the difference between floor and dome can be significant.
Keep a simple curing log: date, session duration, peak floor temperature, peak dome temperature, and any observations (condensation, cracking, soot behaviour). This record is genuinely useful if you need to contact your oven supplier about a warranty matter, and it gives you a baseline for understanding how your specific oven behaves thermally over time.
Small hairline cracks are a normal part of the curing process and rarely indicate a problem. Larger gaps, particularly those that appear suddenly or grow between sessions, need attention. Document them with a photograph and report them to your oven supplier before continuing.
Sources
The following resources were used to shape this guide and are worth consulting directly for additional detail:
- How to prepare and cure your outdoor pizza oven - Fuego
- Wood Fired Oven Floor Tiles: Heat-Resistant, Durable Choices – Floor Chem Depot