Builders' Specs for 1300°C Refractories in Pizza Ovens
Builders’ Specs for 1300°C Refractories in Pizza Ovens
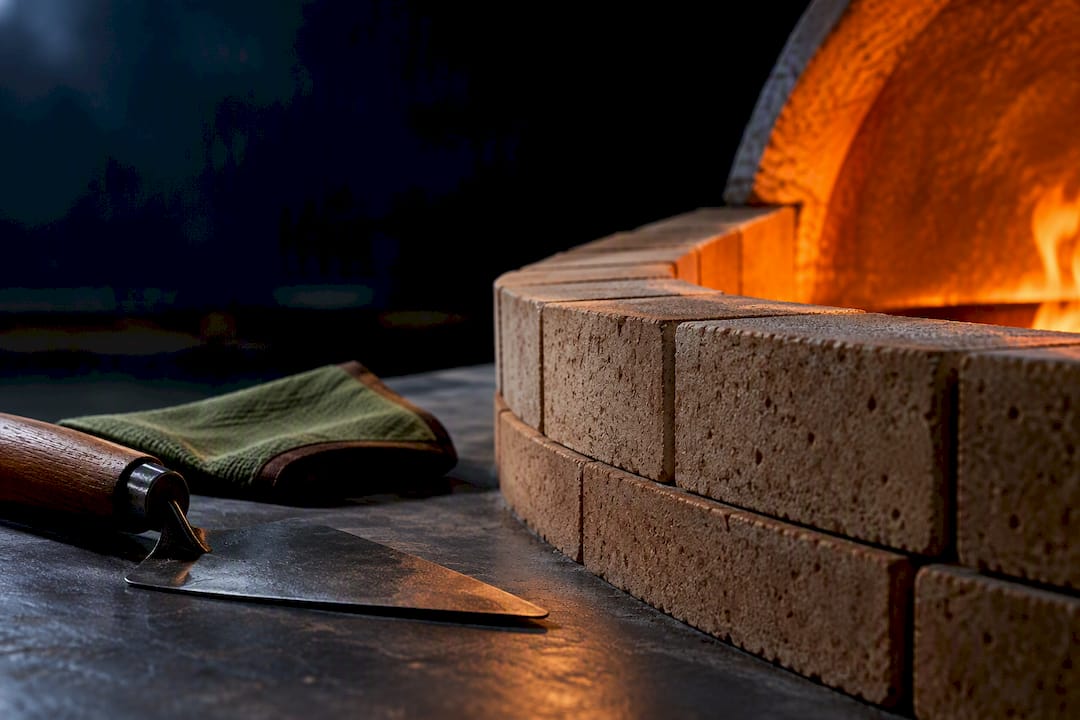
Build your dome and hearth from dense fire bricks rated to at least 1300°C, join them with calcium‑aluminate refractory mortar or castable, and wrap the whole structure in an insulating layer of ceramic fibre, calcium silicate board, or insulating castable. Buy proper refractory products rather than standard masonry, then cure the finished oven slowly.
TL;DR:
- Only use dense fire bricks rated for at least 1300°C, with higher-alumina bricks recommended for continuous commercial use, to prevent cracking.
- Insulating layers such as ceramic fibre blanket or calcium silicate board are vital for heat retention and must be protected from moisture to avoid performance loss.
- Refractory mortar should be a calcium-aluminate type, mixed carefully and allowed to cure gradually, as fast firing or improper sealing can cause cracks.
- Proper installation involves a level substrate, appropriate expansion gaps, slow gradual curing up to 600°C, and multiple firings before full operation.
- Refractory materials last 10 to 20 years in regular use, but moisture, thermal shocks, and misuse shorten their lifespan and require routine inspections and small repairs.
Table of Contents
- Types of refractory materials used in pizza ovens
- Mortar and jointing: what to use and how to apply it
- Insulation, backing and hearth construction
- What specifications should you check before buying?
- Installation and curing best practice
- How long do refractory materials last, and how do you maintain them?
- Practical craftsmanship tips from Vesuviano Forni
- Should you build it yourself or bring in a professional?
- Sources
- FAQ
Types of refractory materials used in pizza ovens
An oven built from the wrong bricks will crack within a season, no matter how carefully you lay them. Refractory materials fall into four distinct families, and each does a different job in the structure.
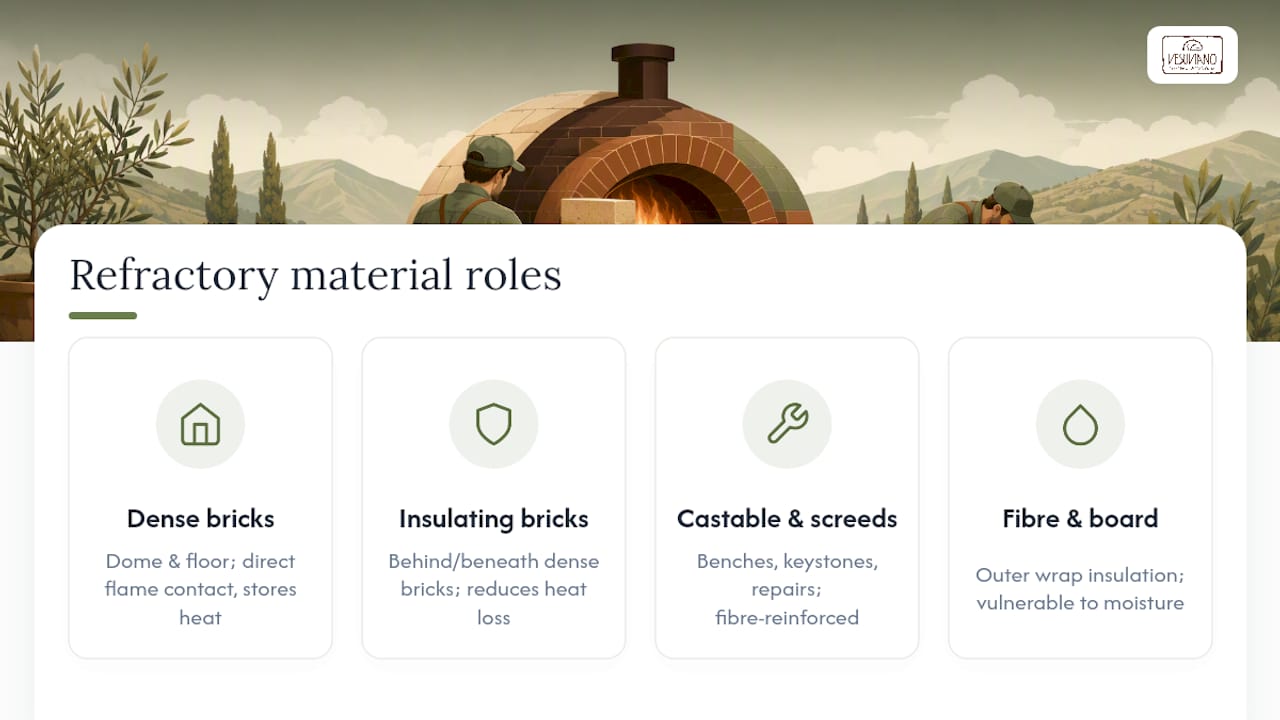
Dense fire bricks (fire clay or high‑alumina) form the dome and floor. They carry the direct flame contact and store the heat that cooks your pizza, and they are rated for continuous temperatures up to 1300°C. A common size is 230 x 114 x 64 mm, roughly 9 x 4½ x 2½ inches, which fits most standard dome and floor layouts without heavy cutting. Reach for higher‑alumina bricks where the oven runs hard, all day, in a commercial kitchen.
Insulating firebricks and insulating castables sit behind or beneath the dense bricks. They are lighter, less thermally conductive, and their job is to stop heat escaping outward, which shortens preheat time considerably.
Refractory castable and screeds are the workhorse for benching, keystones, arch supports, and repairs where a brick shape simply will not fit. Fibre‑reinforced castable resists cracking on awkward, load‑bearing sections better than plain castable.
Ceramic fibre blanket and calcium silicate board wrap the outer thermal envelope. Both insulate exceptionally well for their weight, but neither tolerates moisture: wet fibre loses much of its performance and calcium silicate can crumble if it stays damp, so both need protecting from the elements on an outdoor build.
Mortar and jointing: what to use and how to apply it
Portland‑based mortars fail above roughly 200 to 300°C, well below what a pizza oven reaches on its first firing, so ordinary bricklaying mortar has no place here. Calcium‑aluminate refractory mortar is the standard choice because it sinters alongside the brick rather than crumbling away from it.
- Use dry pre‑mixed refractory mortar for standard brick‑to‑brick joints, mixed only with the water ratio the manufacturer specifies.
- Hand‑pack castable refractory into irregular gaps, keystones, and arch sections where a trowel joint will not hold.
- Reserve specialist outdoor oven cement for exposed exterior pointing that needs weather resistance as well as heat resistance.
- Keep floor joints tight, around 2 to 3 mm, and dome joints slightly wider at 3 to 5 mm to allow for expansion.
- Never rush the mix. Overwatering weakens the cured joint, and mixing more than you can place in ten minutes risks it setting before you use it.
Outdoor ovens need a weatherproof render or rain cap over the insulation layer, because a soaked joint that then gets fired hard is a near guarantee of a crack.
Insulation, backing and hearth construction
A typical hearth is built in layers, working upward: a structural base, an insulating layer, a thermal mass layer, then the firebrick floor itself. Manufacturer plans commonly use an insulating screed with a vermiculite to cement ratio around 5:1 beneath the thermal mass, which keeps heat from bleeding into the base below.
For the dome, most builders combine a ceramic fibre blanket over the brickwork with calcium silicate board beneath the hearth, cocooning the thermal mass on every side.
- Calcium silicate board handles compressive load well but adds cost at greater thicknesses.
- Ceramic fibre blanket is lightweight and easy to fit around curved domes but needs a protective outer skin.
- Insulating castable is slower to install yet forms a single monolithic layer with no joints to fail.
Thicker insulation extends heat retention after the fire dies down, which matters more for a commercial oven running back‑to‑back services than for occasional weekend use. Whichever material you choose, seal it against moisture ingress and mechanical knocks during transport and installation. Our guide to pizza oven floor thickness covers how these layers translate into practical build dimensions.
What specifications should you check before buying?
Datasheets vary wildly between suppliers, so know exactly what to look for before you order anything.
Ask any supplier for the manufacturer’s datasheet and a written food‑safety declaration before you commit to an order. A reputable refractory brick or castable manufacturer will hand these over without hesitation. If they hedge, treat that as a warning sign.
Installation and curing best practice
Getting the materials right counts for nothing if the build and the first firings go wrong. Follow a disciplined sequence.
- Prepare a level, structurally sound substrate before bedding a single brick.
- Leave expansion gaps of 3 to 5 mm around the dome perimeter to absorb thermal movement.
- Cure gradually: raise temperature by roughly 50°C per hour up to 600°C, holding at intervals to let trapped moisture escape.
- Commission the oven across three to five progressively hotter firings, checking joints for hairline cracks after each one.
- Only run the oven at full commercial temperature once it has completed this full curing cycle.
Pro Tip: Even a technically perfect brick will crack if you fire it too fast while residual moisture remains in the mortar. Patience during the first week matters more than the price you paid for the materials.
The most common pitfalls are trapped moisture from rushing the cure, joints packed too thick with mortar, using a Portland‑based mix by mistake, and jumping straight to a full‑power fire on day one. Any one of these will shorten the life of an otherwise well‑built oven.
How long do refractory materials last, and how do you maintain them?
Professional‑grade materials, correctly installed and cured, typically last 10 to 20 years in regular use. Moisture ingress, thermal shock from careless firing, and general misuse are what cut that lifespan short.
- Inspect annually for visible cracks wider than 2 mm, which usually signal a structural issue rather than surface wear.
- Watch for discoloured, flaking spalling on the floor bricks, a sign the surface is breaking down under repeated thermal cycling.
- Check mortar joints for gaps or crumbling, particularly around the dome’s expansion zones.
- Repair small damage with ceramic patch mortar; replace individual bricks rather than rebuilding the whole hearth where possible.
- Re‑point joints as soon as you spot early crumbling, since a small repair now avoids a much larger one later.
A commercial oven firing daily needs this inspection routine far more often than a domestic oven used at weekends. Our pizza oven safety procedures checklist sets out a fuller routine for busy kitchens.
Practical craftsmanship tips from Vesuviano Forni
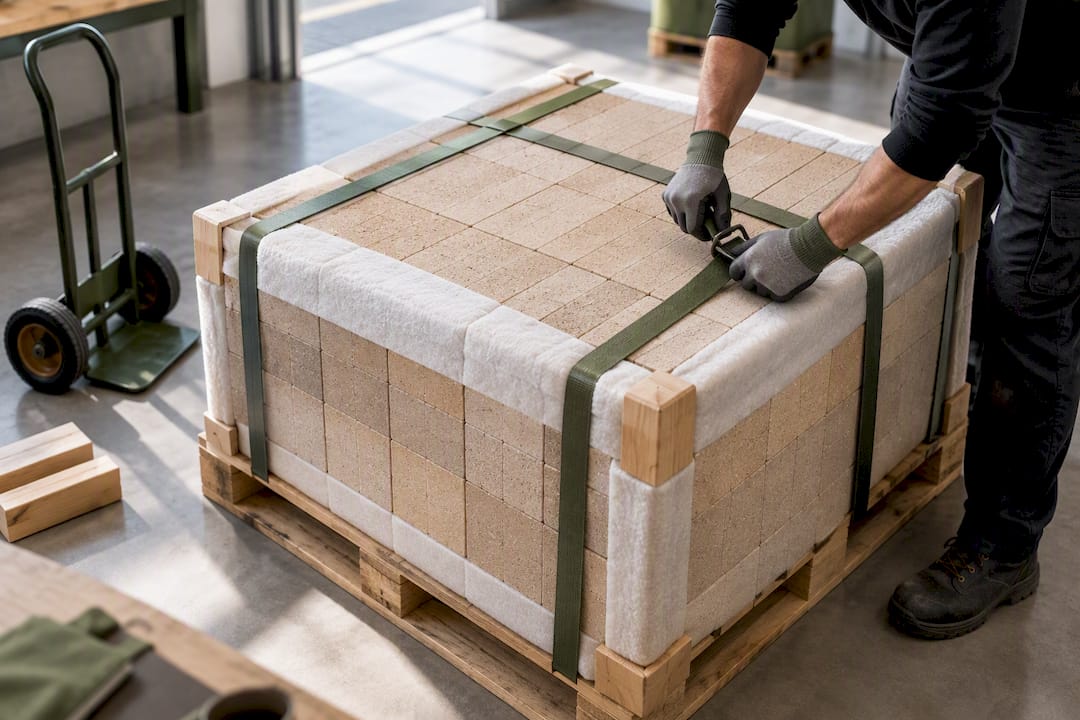
Sourcing refractory materials correctly takes more than reading a single datasheet. Bruno recommends confirming that brick and mortar have matching thermal expansion rates, requesting full manufacturer datasheets before ordering, and planning transport and on‑site assembly logistics well ahead of delivery, since refractory brick is heavy and unforgiving of rough handling.
For heavy, continuous commercial use, a handcrafted on‑site build gives you a hearth and dome engineered for your specific throughput and kitchen layout, rather than a compromise dimensioned for the average buyer. A pre‑built oven suits lighter, more predictable service or tighter site access.
Budget for protective packing during transit, a humidity check on site before installation begins, and a schedule of after‑sales service visits. Where soot and emissions are a genuine concern for your venue or neighbours, the VesuvioBuono low‑emission system is worth reviewing before you finalise a wood‑fired specification.
Should you build it yourself or bring in a professional?
DIY suits a smaller backyard oven used occasionally, where you have the patience to follow a correct curing schedule over several weeks. For heavy commercial use, guaranteed performance, and long‑term compliance, a professional or bespoke manufacturer is the safer route.
Total cost of ownership tells the real story: the right materials and disciplined craftsmanship cost more upfront but cut years of repair bills and wasted fuel from an oven that never quite performs.
— Bruno - Key Account & Export Manager
Sources
- Fire Bricks - Fire Clay Bricks for Pizza Oven | VITCAS
- How to Select Refractory Bricks for Pizza Ovens: Technical Guide & Procurement Tips - Kerui Refractory
- Pompeii oven plans (Forno Bravo / plans PDF)
FAQ
How do you make refractory mortar for a pizza oven?
Mix a calcium‑aluminate refractory mortar following the manufacturer’s water ratio exactly, since overwatering weakens the cured joint. Pack it into brick joints at 2 to 3 mm on the floor and 3 to 5 mm on the dome, then allow it to cure gradually alongside the brickwork rather than firing it immediately.
What can you use instead of firebricks?
Refractory castable is the main substitute, particularly for keystones, arches, and repair sections where a brick shape will not fit. It should carry the same 1300°C service rating as dense fire bricks; ordinary concrete or standard masonry brick has no place in a hot zone.
What is the best material to use to build a pizza oven?
Dense fire clay or high‑alumina fire bricks are the standard for the dome and floor, backed by an insulating layer of ceramic fibre, calcium silicate board, or insulating castable. Check the alumina content, confirm Fe2O3 stays below 1.5% for food safety, and buy from a supplier who provides a proper datasheet.
What kind of mortar do you use for a pizza oven?
Calcium‑aluminate refractory mortar, never a Portland‑cement mix, since ordinary mortar breaks down well below the temperatures a wood‑fired oven reaches. Outdoor builds also need a weatherproof render or cap over the mortar and insulation to keep moisture out of the joints.