Startup Smoke Fixed in 10 Minutes for Commercial Wood Fired Ovens
Startup Smoke Fixed in 10 Minutes for Commercial Wood Fired Ovens
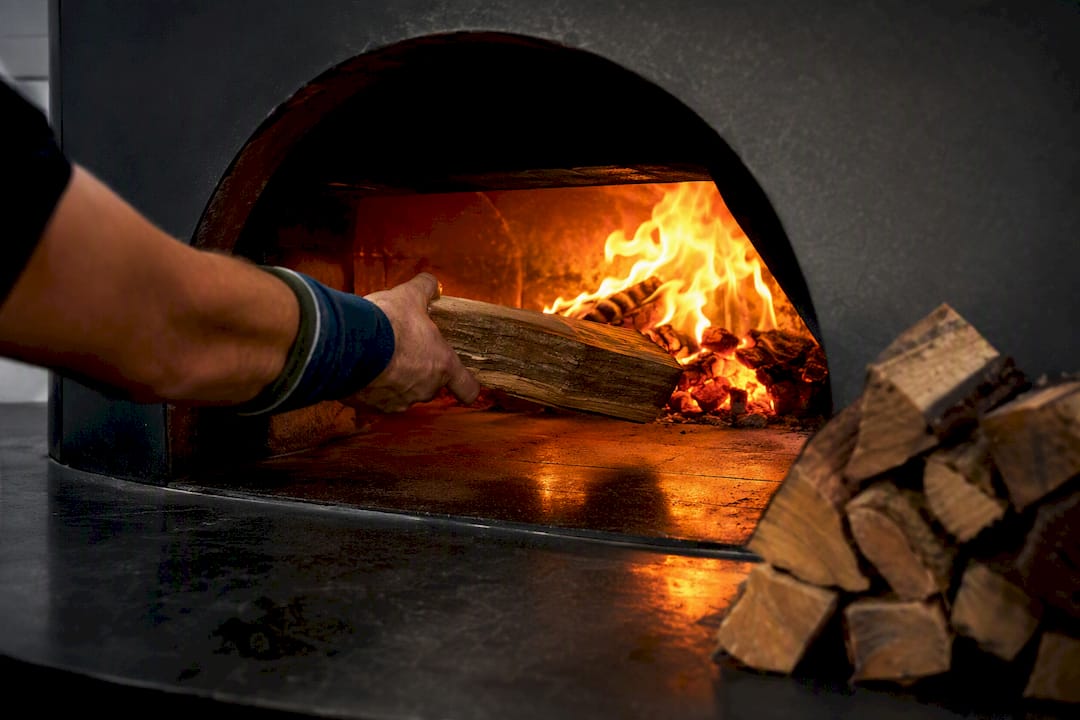
The fastest way to stop visible smoke is a small, dry, hot fire, and a pre-warmed flue. Use seasoned hardwood under 20% moisture, build a compact stack rather than a smouldering pile, and get the chimney drawing before you rely on the oven for service. For recurring or regulatory smoke problems, abatement equipment such as Smoki-style filtration units offers a proven second line of defence.
TL;DR:
- Properly seasoned hardwood below 20% moisture and managing the fire build reduce initial smoke and ensure a clean burn from startup.
- Pre-warming the chimney and avoiding oversized, wet, or cold logs are essential to establishing good draft and preventing smoke puffing.
- Achieving the correct chimney height, minimizing elbows, and inspecting for soot build-up are key to maintaining proper draft and reducing mouth smoke.
- Commercial abatement systems, like water-based scrubbers, become necessary only when venting and technique cannot control emissions in high-volume operations.
- Building design choices, regular maintenance, and consulting a technician before installation significantly influence long-term smoke control success.
Table of Contents
- Getting wood fired oven smoke control right at start-up
- How to stack, light and manage the fire for a clean burn
- Choosing fuel that won’t create smoke in the first place
- Draft, chimney height and the vent fixes that stop puffing
- Commercial abatement: scrubbers, filters and when to invest
- What manufacturer design and maintenance add to smoke control
- Balancing aroma and responsibility
- How Vesuviano Forni approaches persistent smoke problems
- Sources
- FAQ
Getting wood fired oven smoke control right at start-up
Most smoke complaints trace back to the first ten minutes of firing, not the cooking that follows. A cold flue has no draw, so smoke lingers at the mouth instead of pulling up the chimney. Wet or oversized logs choke a young fire before it produces enough heat to burn cleanly. Get those two variables right and most of the visible haze disappears on its own.
Here’s the order that works, drawn from commercial best-practice guidance and years of operator experience:
- Check your wood is properly seasoned and split into manageable pieces, not oversized rounds.
- Build kindling from dry, small offcuts, never damp bark or green trimmings.
- Pre-warm the flue for a few minutes with a small paper or kindling burn before the main fire goes in.
- Stack fuel towards the back or side of the oven floor, never directly under the mouth, and light with dry tinder.
- Once flames are established and burning bright, close the mouth partially and feed in logs that have already warmed near the fire, not cold ones straight from the stack.
Skip step three and you’ll spend the next twenty minutes fighting a lazy, smouldering start that never quite clears.
How to stack, light and manage the fire for a clean burn
Two starting methods dominate wood-fired cooking: the teepee and the top-down burn. A teepee, kindling leaned into a cone with tinder at the base, lights fast and suits a quick service start when you need heat within minutes. A top-down stack, with larger splits at the bottom and kindling on top, burns more slowly but produces a steadier, longer-lasting bed of embers with less early smoke, since the fire works downward through drier upper layers first.
Watch the flame, not the clock. A fire producing thick grey or white smoke is starved of oxygen or burning wet fuel; a clean fire shows tall, orange-yellow flames with minimal visible exhaust within five to ten minutes of ignition. That colour shift is your cue to add the next log. Add fuel too early, before a hot ember bed forms, and you’ll smother the fire and restart the smoke cycle.
- Teepee: fast ignition, good for quick relights between services.
- Top-down: slower but cleaner, ideal for the first fire of the day.
- Torch or blower: useful for speeding ignition in cold or damp conditions, but only until flames are self-sustaining.
Community wood-fired operators have long favoured splitting fuel smaller “until the smoke clears” and using a torch to get a roaring fire quickly rather than nursing a slow catch.
Pro Tip: Keep a small stash of pre-warmed logs on the oven’s hearth edge. Adding a log at room temperature into a hot fire causes a brief steam-and-smoke puff every single time; a log that’s already warm burns in almost instantly.
Choosing fuel that won’t create smoke in the first place
No amount of good technique fixes wet wood. The WFCC best-practices guidance recommends seasoned hardwood at 20% moisture or lower, and that single figure explains more smoke complaints than any venting fault.
- Favour dense hardwoods such as oak, beech, or hornbeam over softwoods, which burn fast, cool, and smoky.
- Test moisture with an inexpensive pin-type meter, pressed into a freshly split face rather than the weathered outer bark.
- Season split wood for at least six to twelve months undercover, stacked with airflow on all sides, not shrink-wrapped against a wall.
- Reject any log that hisses or spits when it hits the fire. That sound is water boiling out of the grain.
Buy wood a season ahead where you can. Wood bought “seasoned” from a roadside supplier in midsummer is frequently still well above 20% inside the split, and you won’t know until it’s already smoking in your oven.
Draft, chimney height and the vent fixes that stop puffing
Smoke that rolls out of the mouth instead of up the flue is almost always a draft problem, not a fuel problem. A cold chimney has no upward pull, which is why pre-warming the flue before the main fire matters as much as dry wood. Flue temperature drives draft speed, and a stack that’s too short, too obstructed, or bent through too many elbows will never draw properly regardless of how good your fire is.
- Keep chimney height sufficient to clear nearby rooflines and avoid the wake turbulence that trees, parapets, or adjacent buildings create.
- Avoid stacking multiple elbows. Two 30-degree offsets combined into a 60-degree bend is enough to choke a flue’s draw.
- Add a cap fan where natural draft is marginal, particularly on shorter runs or in sheltered courtyards.
- Inspect for soot build-up and confirm double-wall or insulated flue sections wherever the chimney penetrates a wall or roof.
Smoki-style abatement systems claim roughly 95% particulate reduction at the exhaust stage, but that figure only holds when the flue delivering smoke to the unit is already drawing correctly. Bad venting undermines even the best filtration downstream. Getting chimney height right, and understanding how makeup air affects indoor installations, solves most puffing issues before equipment ever enters the conversation.
Commercial abatement: scrubbers, filters and when to invest
Once a wood-fired operation runs multiple services a day in a dense urban site, technique and venting fixes reach their limit. That’s when purpose-built abatement equipment earns its keep. Wet scrubbers and filtration units, including the Smoki Junior and Smoki Maxi range, wash exhaust through recirculating water and droplet separators before it exits the stack, cutting both visible particulate and cooking odour.
- Smoke Zapper (Smoki USA): a water-based exhaust filtration system claiming about 95% soot particulate reduction and roughly 50% odour reduction.
- Smoki Junior / Smoki Maxi: sized soot-abatement units for different oven capacities, using the same water-wash principle.
- Dual-fuel ovens: wood for flavour, gas for quiet periods, a practical compromise for dense sites the WFCC guidance specifically recommends.
| Requirement | Wet scrubber / Smoki-style unit | Cap fan alone |
|---|---|---|
| Mains water supply | Required | Not required |
| Drainage connection | Required | Not required |
| Electrical power | Required | Required |
| Stainless, watertight flue | Recommended | Standard flue usually sufficient |
| Maintenance cadence | Periodic (water system checks) | Periodic (soot removal) |
Budget for ongoing maintenance, not just the purchase, and consider using a plastic-free commercial cleaning cloth roll for routine cleaning around your abatement equipment to maintain optimal performance. A scrubber that isn’t serviced on schedule loses its filtration edge quickly, and the plumbing and drainage requirements alone can shift a fit-out timeline by weeks if they aren’t planned early.
What manufacturer design and maintenance add to smoke control
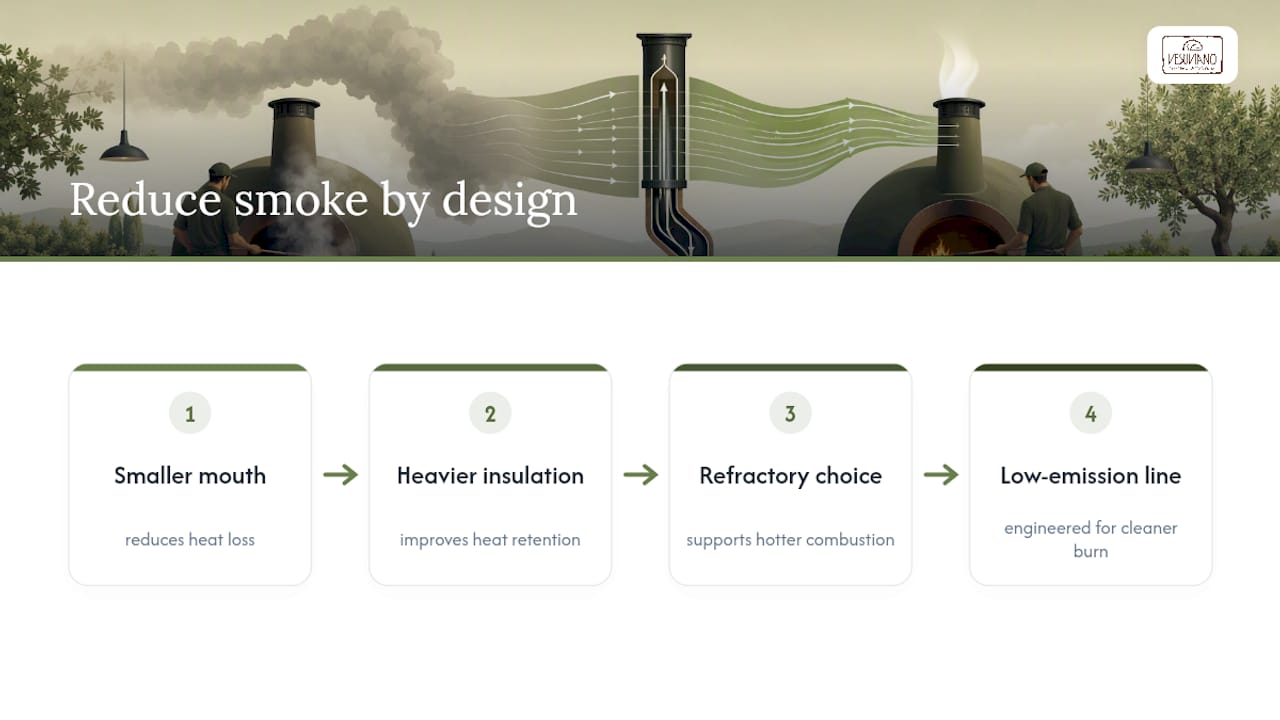
Design choices made at the build stage matter as much as anything you do at service. A smaller oven mouth, heavier insulation, and correctly chosen refractory materials all reduce heat loss and help the fire burn at temperatures that produce less visible smoke. These principles inform every wood-fired oven build, alongside a low-emission line engineered specifically around cleaner combustion.
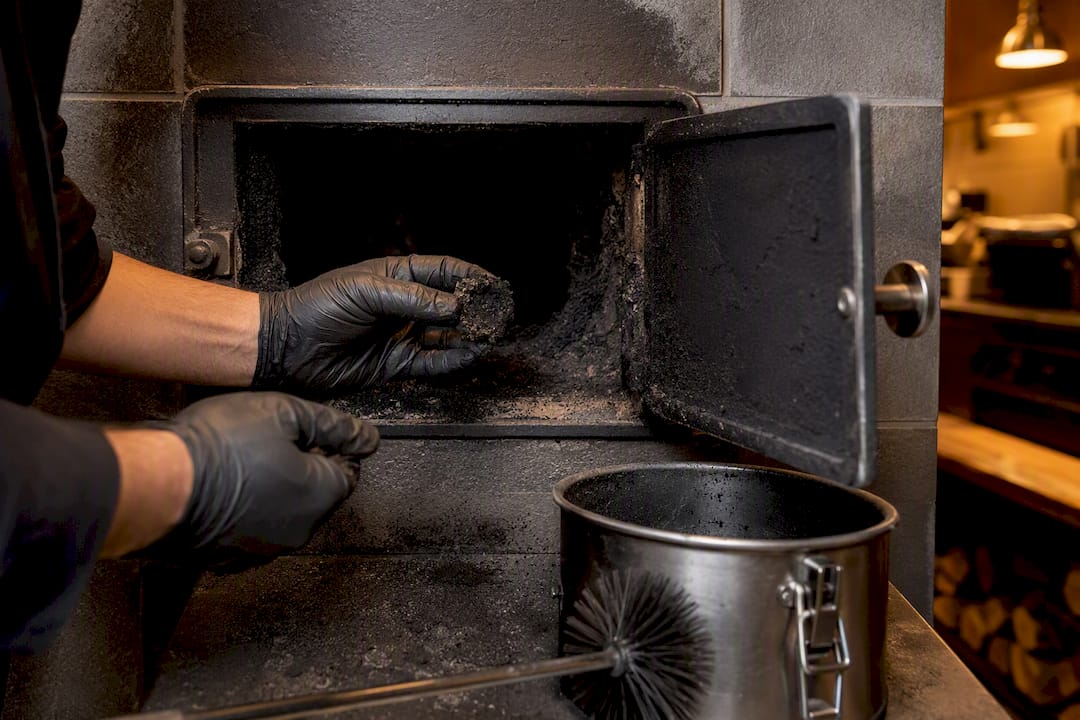
The operational side matters just as much: pre-warm the flue every time, never let the fire drop to a smouldering ember bed mid-service, and keep a maintenance schedule that checks flue clearance and soot build-up monthly rather than waiting for a complaint. For venting layout questions on a new or existing installation, particularly around NFPA 96 compliance, it’s worth involving a technician before pouring concrete, not after.
Balancing aroma and responsibility
Wood smoke is part of what makes a Neapolitan oven feel alive, but that romance has limits for neighbours downwind. We favour shorter, hotter firing windows, dual-fuel flexibility for quiet periods, and a maintenance habit that treats a clean chimney as routine, not optional.
How Vesuviano Forni approaches persistent smoke problems
If you’ve tried the fixes above and still fight visible smoke every service, the issue usually sits in the build itself, not your technique. The VesuvioBuono system is a low-emission wood-fired line, engineered to eliminate black soot emissions while keeping the flavour and theatre of genuine Neapolitan cooking.
Beyond the oven itself, there is support for on-site construction and installation, which matters most when smoke problems come down to a flue run that was never sized correctly for the site. A technical consultation can cover chimney height, clearances, and whether your location calls for a bespoke abatement integration alongside the oven build. If you’re weighing options across oven collections, from traditional RealBosco builds to the low-emission VesuvioBuono range, consider talking through your site’s venting layout before you commit to a design.
— Bruno - Key Account & Export Manager
Sources
For fuel moisture targets and venting design, see the WFCC best-practices document. For abatement product specifics, see the Smoke Zapper system. Always check local codes and NFPA guidance before any commercial installation.
- Wood-Fired Commercial Cooking (WFCC) best practices — Puget Sound Clean Air Agency
- Smoke Zapper | Smoki® USA
FAQ
How do I minimise smoke from a wood-fired oven?
Use seasoned hardwood under 20% moisture, build a small hot fire rather than a smouldering one, and pre-warm the flue before loading the main fuel.
How do I stop smoke coming out of the oven mouth?
Mouth smoke almost always signals poor draft. Check chimney height, reduce elbow bends in the flue run, and confirm the fire has enough hot embers to burn cleanly rather than smoulder.
Will oven smoke go away on its own?
Smoke from a cold start usually clears within five to ten minutes as the flue warms and the fire establishes, but smoke that persists longer points to wet fuel or a draft problem that won’t resolve without intervention.
Why does my wood-fired oven puff smoke intermittently?
Puffing typically happens when cold logs are added to a hot fire, causing a brief steam-and-smoke release, or when draft is marginal and wind gusts briefly reverse the airflow at the chimney cap.
Does abatement equipment fully eliminate visible smoke?
No system removes all emissions, but Smoki-style filtration units claim around 95% particulate reduction when installed on an already well-drafting flue, making them effective for commercial sites with strict nuisance limits.