Pizza oven flue size: how to choose and install correctly
Pizza oven flue size: how to choose and install correctly
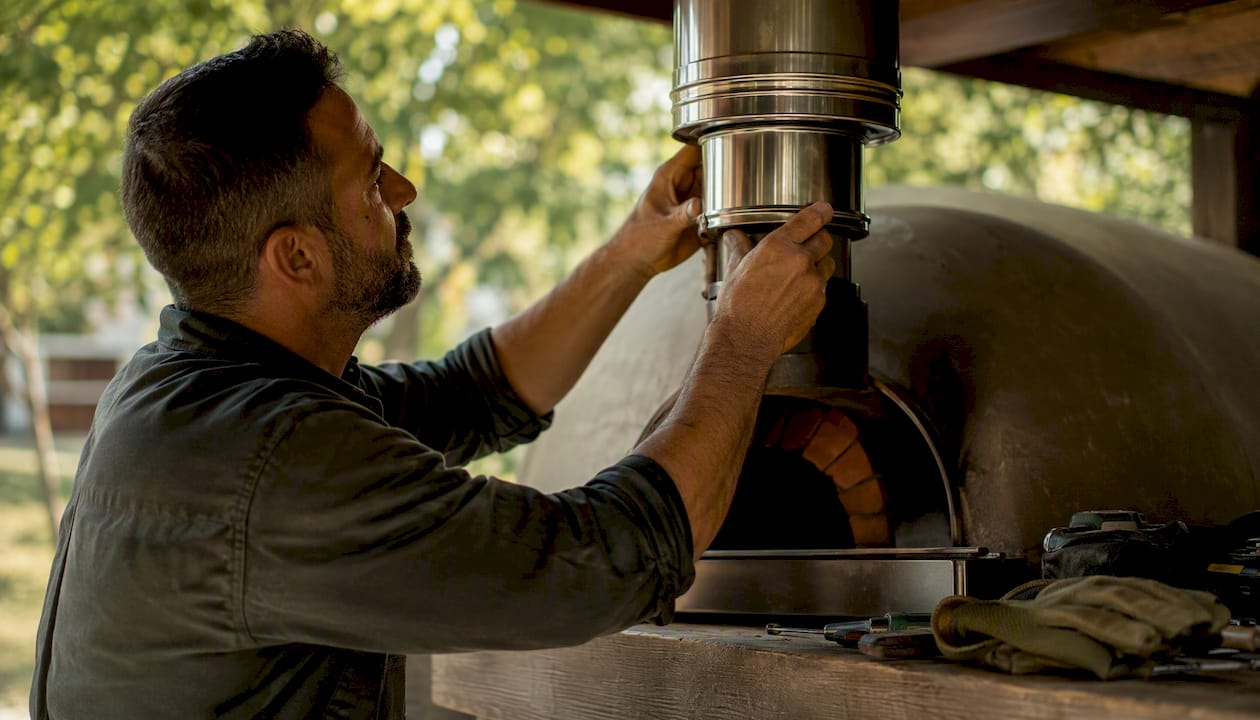
Most small-to-medium wood-fired pizza ovens use a 5-inch or 6-inch flue outlet. Larger dome ovens and commercial installations commonly step up to 8 inches or more. The single most important rule: match your flue pipe diameter to the oven’s outlet, exactly as the manufacturer specifies. Most outdoor pizza ovens use a 5 in or 6 in outlet, and deviating from that without a clear reason creates more problems than it solves.
If you are unsure whether to go wider, prioritise additional chimney height and insulated sections instead. A taller, well-insulated flue almost always outperforms a fatter, short one.
- Measure first: record your oven outlet diameter in inches before ordering any pipe.
- Match, do not guess: use the outlet diameter as your starting point; only deviate if the manufacturer’s manual says otherwise.
- Single-wall stovepipe: acceptable only for short, fully open-air runs with no overhead structure.
- Insulated/Class A: choose this whenever the oven sits under a pergola, roof, or any cover, or when the run exceeds a couple of feet.
Pro Tip: If your oven is under any kind of cover, even a lightweight pergola, go straight to a Class A insulated stainless chimney. The clearance advantages alone justify the extra cost, and the retained heat will give you noticeably better draft from the first fire.
Key takeaways
Matching the flue cross-sectional area to the oven outlet, prioritising chimney height, and specifying Class A insulated sections under any cover are the three decisions that determine whether a wood-fired pizza oven drafts correctly and operates safely.
| Point | Details |
|---|---|
| Match the outlet diameter | Use the manufacturer’s specified outlet diameter as your starting point; never guess or round down. |
| Prioritise height over width | Adding chimney height improves draft more reliably than increasing diameter; test with a temporary extension first. |
| Class A under any cover | Any overhead structure requires insulated Class A (UL 103 HT) sections and smaller clearances than single-wall pipe. |
| Check clearances by flue type | Single-wall requires approx. 18 in to combustibles; Class A reduces that to approx. 2–6 in depending on product rating. |
| Vesuviano Forni technical support | Commercial and built-on-site oven buyers can request a tailored flue specification from Vesuviano Forni’s technical team. |
Table of Contents
- Why does pizza oven flue size affect draft and performance?
- What factors determine the right flue size for your oven?
- Single-wall, Class A, or stainless kit: which flue type suits your installation?
- How to calculate the right flue diameter: worked examples
- Installation clearances: what to check before you buy
- Oversmoking, poor draft, and downdraught: how to fix common problems
- What to ask your manufacturer or installer before buying
- An installer’s perspective on getting flue sizing right
- Vesuviano Forni’s technical support for commercial oven installations
- Sources
Why does pizza oven flue size affect draft and performance?
Draft is primarily driven by temperature differential and chimney height, not diameter alone. Hot combustion gases are lighter than the surrounding air; the taller the column of hot gas, the greater the pressure difference that pulls fresh air into the firebox and pushes exhaust upward. Diameter matters, but it is secondary.
An oversized flue cools gases faster than a correctly sized one. When gases cool, they lose buoyancy, draft weakens, and smoke backs up into the cooking chamber. Conversely, a flue that is too narrow chokes the flow, restricts combustion air, and causes the same smoky result through a different mechanism. Draft depends more on chimney height and temperature differential than on simply increasing diameter; an oversized flue can actively reduce performance.
Wood-fired pizza ovens operate at 700–900°F (370–480°C), which means the temperature differential driving draft is substantial when the system is correctly sized and insulated. Get the sizing wrong and you lose that advantage quickly.
Three performance symptoms and their likely causes:
- Smoke rolling out of the oven door: flue diameter too large, chimney too short, or a cold, uninsulated flue that cannot sustain draft.
- Slow heat-up and difficulty holding temperature: undersized flue choking airflow, or insufficient chimney height reducing the pressure differential. Reviewing commercial pizza oven temperatures can help you benchmark what a correctly drafted oven should achieve.
- Flare-ups and erratic flame: turbulent airflow caused by a mismatched diameter, a damaged rain cap, or a blocked flue outlet.
What factors determine the right flue size for your oven?
Several variables interact, and changing one often shifts the answer on another. Work through each before ordering parts.
Core factors to evaluate:
- Oven outlet diameter — the manufacturer’s specified outlet is the primary constraint; match it.
- Oven internal volume and door/opening area — larger cooking chambers produce more combustion gas and need proportionally larger flue cross-sections.
- Fuel type and burn rate — wood firing generates more combustion gas and particulate than gas; size conservatively.
- Expected heat input — higher BTU output demands greater exhaust capacity.
- Whether the oven is under cover or indoors — any overhead structure requires insulated/Class A construction and greater chimney height.
- Ambient altitude and prevailing wind — at altitude, thinner air reduces natural draft; coastal and exposed sites may need wind-deflecting caps.
- Run length to clear obstructions — longer runs lose heat faster; insulated sections become non-negotiable above a couple of feet.
Understanding how these factors interact with wood-fired pizza oven dimensions is the foundation of a correctly sized flue system.
The core calculation: convert your outlet or oven opening to a cross-sectional area, then verify it against the area ratio rule. Flue area should be at least roughly 10% of the door/opening area, or approximately 1/8–1/10 of the oven floor area. Area scales with the square of the diameter, so a seemingly small step from 5 inches to 6 inches increases cross-sectional area by roughly 44%.
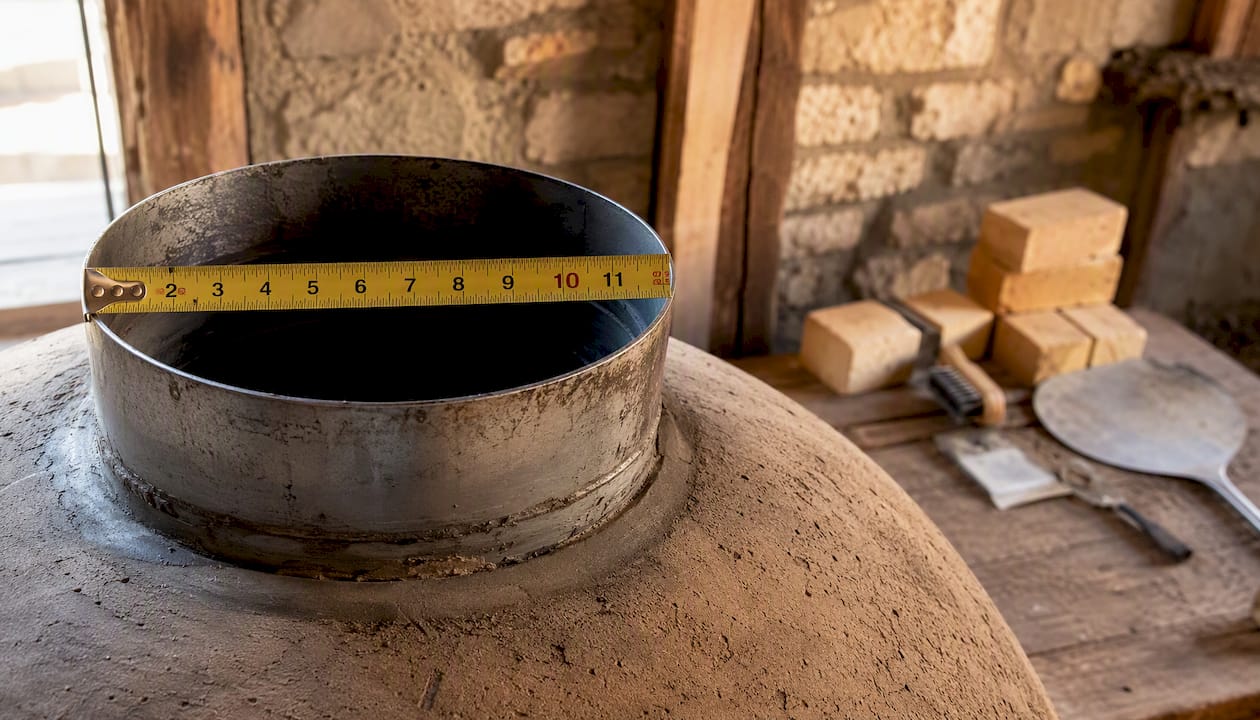
Manufacturer specifications and local codes always override generic rules. Read the manual, then check your local authority’s requirements.
On-site checklist:
- Measure the oven outlet diameter with a tape measure (inside diameter).
- Note the oven door/opening height and width in inches.
- Confirm whether any overhead structure is present within 10 feet of the flue termination.
- Record the total vertical rise needed to clear the highest point of any cover.
- Check local building codes or consult a certified chimney professional before purchasing.
Single-wall, Class A, or stainless kit: which flue type suits your installation?
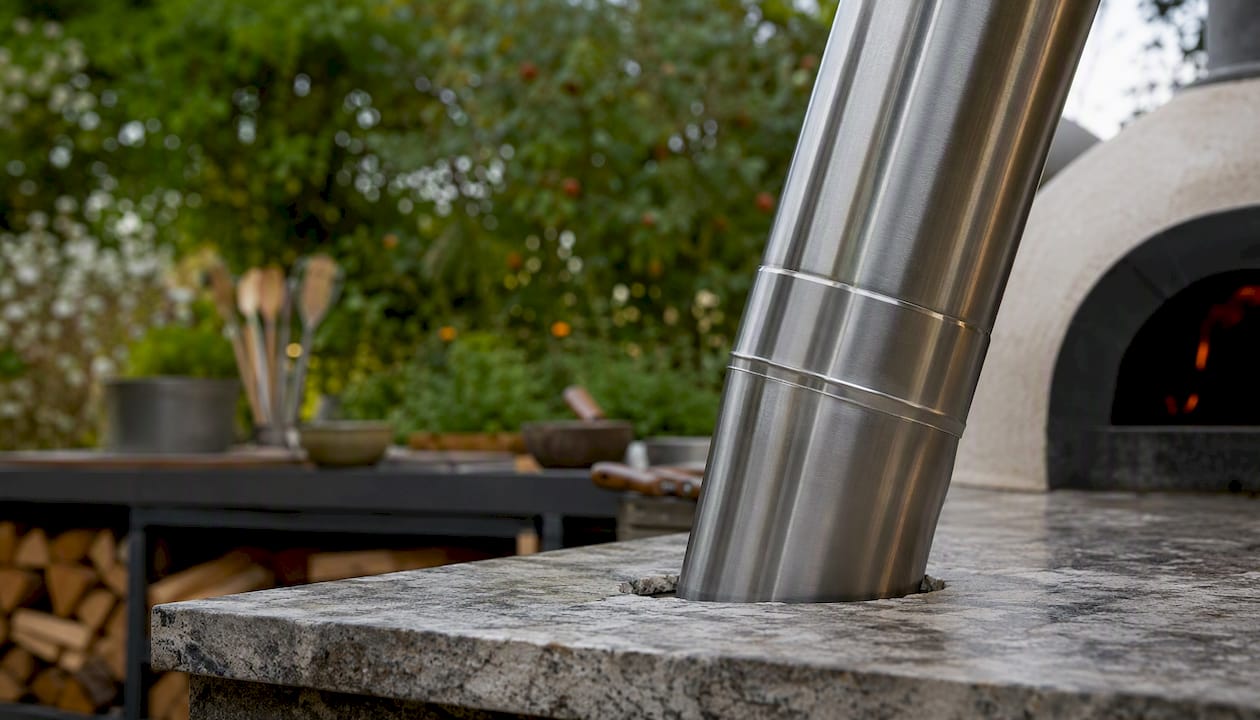
Choose Class A insulated stainless chimneys for anything under cover or for runs over a couple of feet; single-wall stovepipe is only appropriate for short, fully exposed open-air runs. That distinction matters practically because the two systems have very different clearance requirements, costs, and performance characteristics.
| Feature | Single-wall stovepipe | Class A insulated (UL 103 HT) |
|---|---|---|
| Recommended diameter | 5 in or 6 in (match outlet) | 5 in, 6 in, 8 in (match outlet) |
| Typical use | Short open-air runs, temporary setups | Under cover, indoor, commercial, long runs |
| Chimney height guidance | Minimum 3 ft above oven; 10 ft+ preferred | Minimum about 3 feet above highest obstruction; extend the chimney a couple of feet above cover |
| Clearance to combustibles | around a foot and a half | Approx. 2–6 in (varies by product rating) |
| Material/construction | Single-layer steel | Double-wall insulated stainless steel |
| Cost and complexity | Low cost, simple assembly | Higher cost, requires correct components and locking bands |
For indoor or professional kitchens, UL 103 HT double-wall chimneys and appropriate exhaust provisions are the standard recommendation. Single-wall pipe is simply not rated for those conditions.
Components that matter:
- Rain cap: prevents water ingress and reduces downdraught; always fit one.
- Spark arrestor: required in many jurisdictions for wood-burning appliances; check local codes.
- Flashing: seals the roof or wall penetration; must be rated for the flue type.
- Wall supports and locking bands: keep sections aligned and secure; locking bands prevent sections separating under thermal expansion.
- Telescopic sleeves and T-pieces: allow adjustment and cleaning access; plan for soot cleaning from the outset.
When an oven sits under a pergola or roof, installers routinely switch to Class A insulated systems and extend the chimney at least 2–3 feet above the highest point of the cover to sustain reliable draft. NFPA 211 is the general industry standard to reference alongside your local codes; always cross-check both.
Pro Tip: For outdoor kitchen installations, a bespoke outdoor kitchen designer can help you plan the flue route before the structure is built, which avoids costly retrofits later.
How to calculate the right flue diameter: worked examples
Use the oven outlet diameter when it is stated in the manual. When it is not, size the flue area as a percentage of the oven door or floor area. Flue area should equal roughly 1/8–1/10 of the oven floor area, or at least 10% of the door opening area, then round up to the nearest standard diameter.
Standard diameters and cross-sectional areas:
Worked example 1: small domestic oven with a 5-inch outlet
- Manufacturer specifies a 5-inch outlet. Cross-sectional area = π × (2.5)² = 19.6 in².
- Oven door opening: 10 in wide × 8 in tall = 80 in². 10% of 80 in² = 8 in². A 5-inch flue at 19.6 in² comfortably exceeds this minimum.
- Recommended chimney height: at least 10 feet of vertical rise for reliable draft.
- Conclusion: 5-inch single-wall stovepipe for a fully open-air setup; 5-inch Class A if under any cover.
Worked example 2: 36-inch dome oven
- Oven door opening: 14 in wide × 10 in tall = 140 in². 10% = 14 in² minimum flue area.
- A 5-inch flue gives 19.6 in² — technically sufficient, but with little margin. A 6-inch flue gives 28.3 in², providing a comfortable buffer for high-output wood firing.
- Oven floor area: approximately 1,018 in² for a 36-inch dome. 1/10 of that = 101.8 in² — this is the floor-area method, which suggests a much larger flue. In practice, the door-area method is more commonly applied for dome ovens; the floor-area method is better suited to rectangular commercial chambers.
- Conclusion: choose 6 inches for a 36-inch dome oven. Step to 8 inches only if the oven is commercial-grade with a high fuel load and the manufacturer recommends it.
Effect of height instead of diameter: if a 6-inch flue at 10 feet produces marginal draft, adding a chimney extension raises the outlet and can significantly improve draft without changing the pipe diameter. Extending from 10 feet to 15 feet of vertical rise often resolves smoke problems that a wider pipe would not fix.
Pro Tip: Before committing to an 8-inch system, temporarily add a length of 6-inch stovepipe to your existing outlet and test draft. If performance improves with height, you need more height, not more diameter.
Installation clearances: what to check before you buy
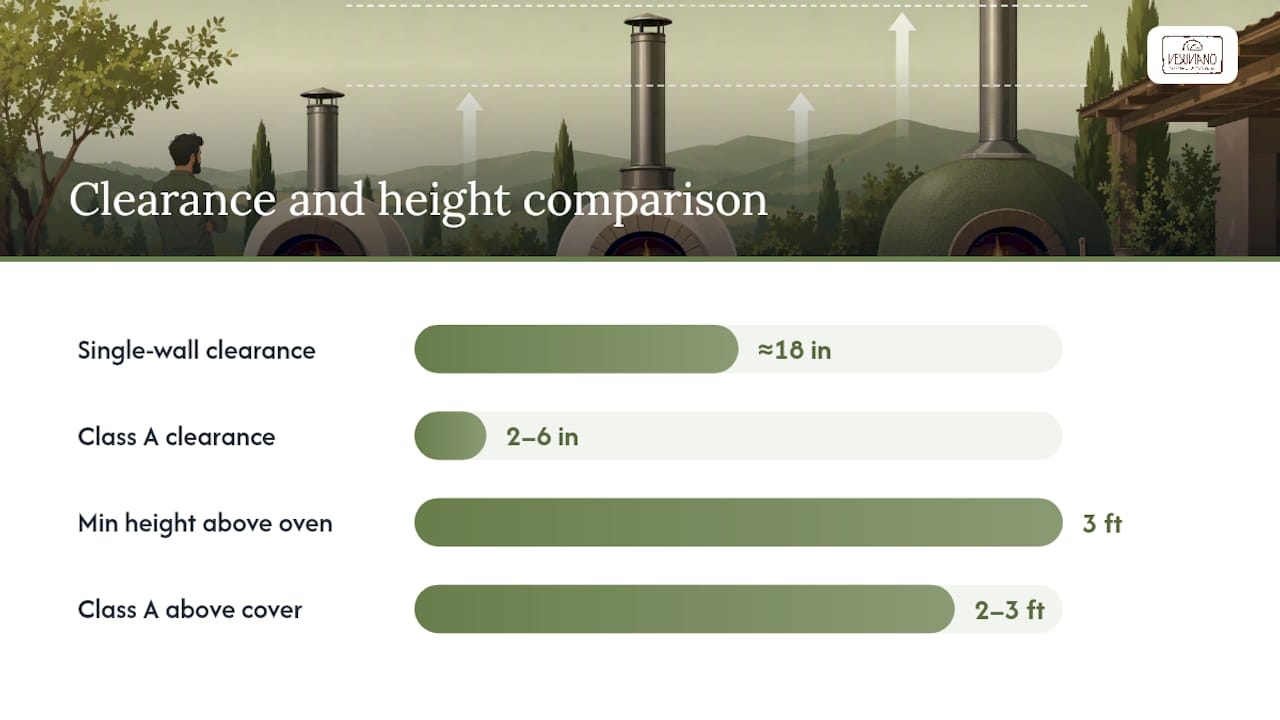
Clearance requirements depend entirely on the flue type. Single-wall stovepipe requires approximately 18 inches of clearance to any combustible material. Insulated Class A systems reduce that to roughly 2–6 inches, depending on the product’s UL rating and the manufacturer’s installation instructions. That difference is the practical reason most covered installations specify Class A from the outset.
Clearance summary by flue type:
- Single-wall stovepipe: approx. 18 in to combustibles; suitable only for open-air, short runs.
- Class A / UL 103 HT insulated: approx. 2–6 in to combustibles (confirm with the specific product’s data sheet).
- Roof penetration: always use a rated flashing kit matched to the flue type; never improvise.
- NFPA 211: the general industry standard for chimney installation; cross-reference with local building codes before finalising the design.
The 3-2-10 rule for chimney termination is a widely used guideline: the flue outlet must extend at least 3 feet above the point where it passes through a roof, and at least 2 feet above any structure within 10 feet horizontally. This applies to permanent structures; check whether your local authority adopts it or uses a different standard.
For commercial indoor wood-fired pizza oven installations, ventilation and exhaust requirements go beyond the flue itself; a certified installer and building control sign-off are non-negotiable.
Materials: use 316-grade stainless steel for outdoor installations in coastal or high-humidity environments. Standard 304-grade stainless is adequate for most inland outdoor kitchens. Avoid galvanised steel near high-temperature flue gases.
Pre-purchase checklist for your installer or building control officer:
- Confirmed flue type (single-wall or Class A) and UL/product rating.
- Measured clearance to all combustibles along the entire run.
- Roof or wall penetration method and flashing specification.
- Chimney height above the highest obstruction within 10 feet.
- Local code reference (NFPA 211 or equivalent) and any permit requirements.
Oversmoking, poor draft, and downdraught: how to fix common problems
Identify whether the problem is caused by diameter, insufficient height, a cold uninsulated flue, or a physical restriction such as a blocked cap or debris before replacing any components.
Common symptoms and fixes:
- Smoke at the oven door on start-up: the flue is cold and draft has not established. Light a small, very hot kindling fire first to warm the flue before adding larger logs. If this happens every session, the flue lacks insulation.
- Persistent smoke at the door during cooking: check for a blocked rain cap or debris in the flue. If clear, the chimney is likely too short or the diameter too large for the heat output.
- Slow heat-up and poor temperature retention: the flue may be undersized (choking airflow) or the chimney too short to generate adequate pressure differential.
- Downdraught (smoke pushed back into the oven): a nearby structure or tree is deflecting wind down the flue. Raise the chimney height, fit a wind-deflecting cap, or reposition the oven relative to the obstruction.
- Flare-ups and erratic flame: check that the rain cap is not restricting flow; a partially blocked cap behaves like a partially closed damper.
Stepwise diagnostic approach:
- Inspect the rain cap and flue outlet for blockages or bird nests.
- Check that all locking bands are secure and no sections have separated.
- Temporarily add a straight length of stovepipe to increase effective height and observe whether draft improves. This is a low-cost test before investing in permanent extensions.
- Try a small, very hot initial burn (dry hardwood kindling only) to establish draft before loading the main fuel.
- If back-puffing persists, carbon monoxide is a concern, or you suspect structural issues, stop using the oven and call a certified chimney professional or the oven manufacturer.
Pro Tip: Test draft on a cool day rather than a warm one. The temperature differential between flue gases and outside air is greatest in cool conditions, so if draft is poor on a cool day, the system has a genuine sizing or height problem, not just a seasonal quirk.
What to ask your manufacturer or installer before buying
When buying a flue kit, give the oven model and measured outlet diameter, state whether the oven is under cover, and request Class A insulated sections if any overhead structure is present. That single sentence covers the most common ordering mistakes.
Pre-purchase and installation checklist:
- Record the oven model and manufacturer-specified outlet diameter (inside diameter in inches).
- Measure the total vertical rise available from the oven outlet to the intended termination point.
- Confirm whether any overhead structure is present; if yes, specify Class A insulated sections throughout.
- Request a complete flue kit including: rain cap, locking bands for every joint, wall supports, straight lengths in the correct diameter, telescopic sleeve for wall penetration, and flashing if penetrating a roof.
- Verify that all components carry the same UL/Class A rating and are compatible with each other (mixing brands can void ratings).
- Confirm the chimney height meets the 3-2-10 rule or your local code equivalent.
- Check that clearances to combustibles are met along the entire run for the specified flue type.
- Keep the manual and component data sheets on site for building control inspection.
An installer’s perspective on getting flue sizing right
Measure twice, mock up temporarily, and test draft before committing to expensive insulated sections. That is the single most useful habit from site experience.
- Use temporary stovepipe to test height: clip a cheap straight length onto the outlet before the permanent system goes in. If draft improves, you need more height; if it does not, look at diameter or insulation.
- Secure every joint with locking bands: thermal cycling loosens sections over time; locking bands prevent separation and the carbon monoxide risk that comes with it.
- Plan soot-cleaning access from day one: fit a T-piece or access panel at the base of the vertical run so you can brush the flue without dismantling it.
- Position the rain cap carefully: a cap that sits too close to a wall or soffit creates turbulence; leave at least 12 inches of clear space around the termination.
- Altitude and coastal sites: at altitude above 3,000 feet, draft is weaker; add at least 2 extra feet of chimney height as a starting point. Coastal sites with strong prevailing winds need a wind-deflecting cap rather than a standard rain cap.
- Cold-weather commissioning: the first fire in a new installation should be small and hot, not large and slow. A slow fire in a cold flue produces condensation and creosote before draft is established.
Vesuviano Forni’s technical support for commercial oven installations
Getting the flue right on a commercial wood-fired oven is not a task to leave to guesswork. The oven’s performance, your kitchen’s safety compliance, and your team’s daily workflow all depend on a correctly specified and installed chimney system.
Vesuviano Forni provides end-to-end technical consultancy for commercial and built-on-site installations, covering flue specification, custom flue transitions, international logistics, and on-site assembly. Whether you are fitting a Neapolitan wood-fired oven into an existing kitchen or building a commercial wood-fired pizza oven from scratch, the team can advise on the correct outlet diameter, chimney height, and Class A system requirements for your specific site conditions. For bespoke projects, the built-on-site service includes full flue design as part of the installation scope.
To get a tailored recommendation, send your oven model, measured outlet diameter, and a brief description of the site (covered or open, indoor or outdoor, available chimney height) to the Vesuviano Forni technical team. The response will include specific flue specifications and component recommendations for your installation.
Sources
The following references were used in preparing this guide and are worth consulting directly for detailed installation rules, clearance tables, and component specifications.
- Flue-pipes
- Chimney Size and Design - Forno Bravo Forum
- How to Size a Chimney for a Pizza Oven: Calculations & Considerations - Keschenckwrites
- The Ultimate Pizza Oven Chimney Extension Guide | Sabra Pizza